Tuesday, September 6, 2011

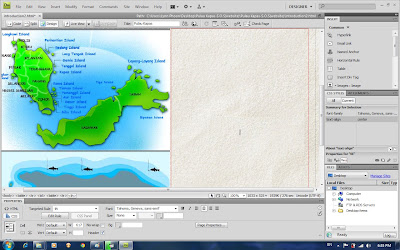
Assignment 3- The making of Pulau Kapas website (Using dreamwearver)

Step 1
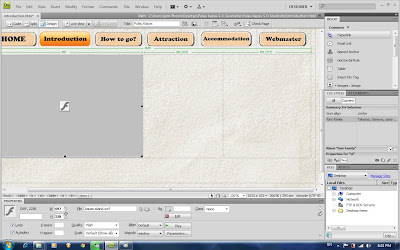
Insert table, set column as 3 and row as 0.
Step 2
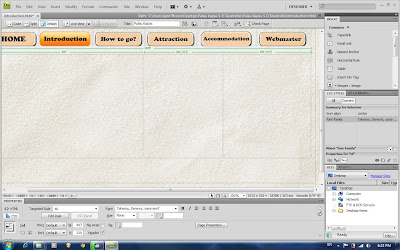
Click the first column and insert the flash that i made before.
Step 3
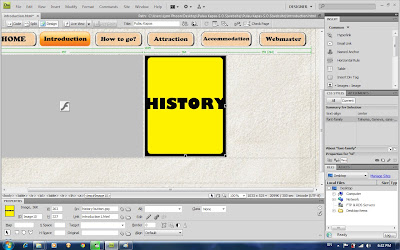
Prepare 2 piece of HISTORY image, one is for front and the other is for back. To make an effect when the mouse go over the image, it will turn to the other image. Insert> Image Object> Rollover image. The original image browse from computer that make it front and the rollover image browse from computer that make it back.
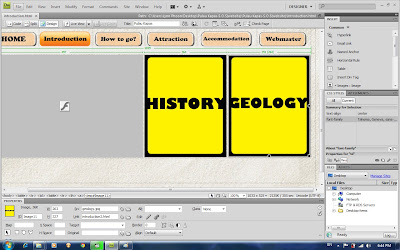
Same as Step 3 for the GEOLOGY image.
Then go to the properties which is below choose link for BOTH image.
For HISTORY, it link to Introduction1.html and for GEOLOGY, it link to Introduction2.html.
Step 4
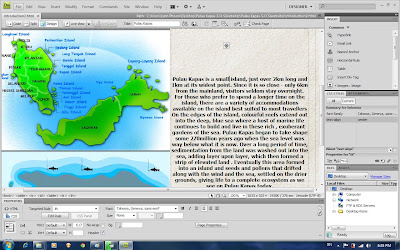
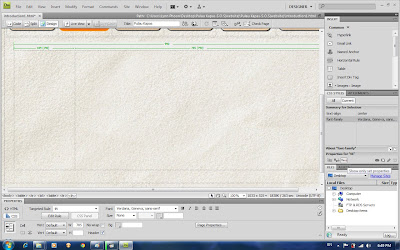
Open another HTML named as Introduction1. Then insert table, row as 0 and column as 2.
Step 5
Insert BACK image using the step 3.
BACK image link it to the Introduction.html.
Step 6
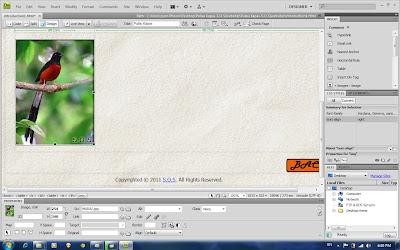
Click the first column and insert image. Insert > Image.
Step 7
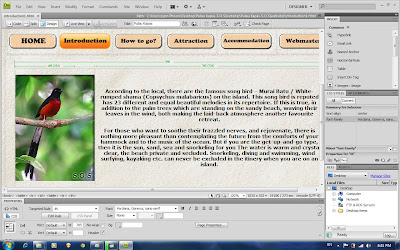
Click the second column to type the description and the history of Pulau Kapas.
Step 8
Open another HTML and named it as Introduction2. Repeat the Step 4 till Step 7.

The introduction part (my part) is finished ^^

Assignment 3- The making of flash (introduction)

Step 1
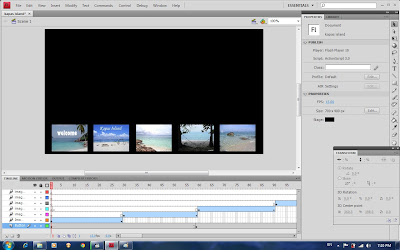
Create a new file with ActionScript 3.0 and modify the document like it’s shown on the screenshot below. Then enter the document properties via the admin panel or pressing Ctrl+J. Choose black colour.
Step 2
Add 6 images from computer to your library. To do this press File > Import > Import to library.

Step 3
Create 6 layers and give them the names Buttons, Images 1, Images 2, Images 3, Images 4 ,Images 5 and Images 6.
Step 4
Click the button layer and drag the images from library to the stage. Then modify their size to 114×85 px and arrange them like a button. Drag the first frame up to the 149 cell to copy it.
Step 5
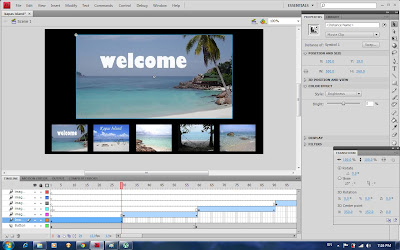
Switch to the Images layer and select the first frame on the timeline. Drag the image that corresponds to the first thumbnail from library to the stage. Size it down to the 500×268 px and set its position to the 100×18.
Step 6
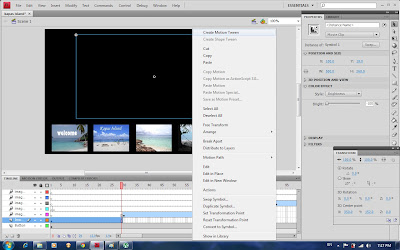
Click on the image and right click, then choose create motion tween.
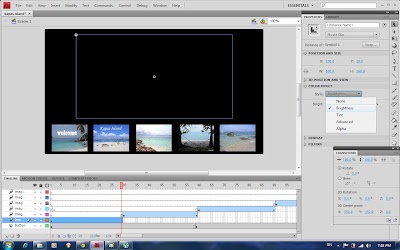
Then go to the colour effect there and choose brightness and make it become -100%.
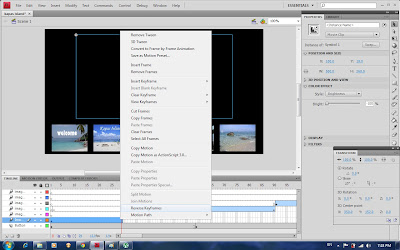
Click on the timeline and choose reverse keyframe. Repeat step 5 and 6 for the following 4 picture.
Step 7
Drag the last picture from library to stage and size it 520 x 380px and it position is 100.3 x 8.0 as the end of this flash.
Step 8
Save it up and go to publish setting to publish it as a flash. Go to File > Publish Settings> Publish > Ok.
This flash was done by these easy step. Hope you enjoy it. ^^