Friday, July 22, 2011

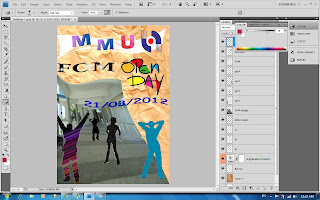
Final post for ewallpaper (B part)

Continue from part A~
The e wallpaper is almost done~

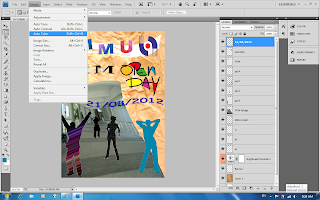
Step 9~> Retone the image
Go to image>auto colour.
You can see that the colour is a bit brighter than just now.
Then use dogle tool to make the place that u want it bright.
i use dolge tool on the open day.

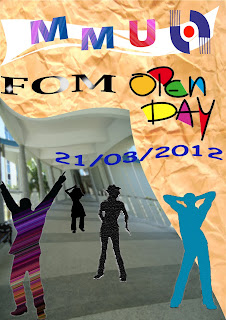
~FINAL RESULT~

Final post for ewallpaper (A part)

After the consult of mdm lydia, i had change my mind for the ewallpaper.
So i decide to do a new one~ Here
is the step that use for my ewallpaper~
The pictures below are the material that i use for my e-wallpaper.




Let's see that how i do my e-wallpaper

Step 1~> Open the blue paper and resize it.
The steps are like this: Image>Image size
Go to the document size there.
Width:210mm
Height:297mm
Resolution:72 pixels

Step 2~> Prepare a crumbled paper
Then press ctrl + alt+ u (Hue/saturation)
Then change it become
Hue: 0
Saturation: -100
Lightness: 0
The paper become grayscale
Right click on the layer then change the opacity: 35%
Use move tool to move the crumbled paper to the background.
As you can see the paper is a bit darkness then just now and got the crumbled effect.
The background was done~

Step 3~> open an image
Use selection tool to select the image that i need for my ewallpaper.
Then use refine edge to make the image become smooth.
Radius: 1.0
Contrast: 0
Smooth: 3
Feather: 1.0
Contract/ Expand: 0
Then ctrl+ c (copy)and ctrl+v (paste) to paste the image to the background.
Repeat all the step for the other image.
The final result that using selection tool and refine edge for my e-wallpaper.

Step 4~> Open the MMU logo
Using selection tool to select the logo and use move tool to move to the background.
Then go to the layer style to add effect on the logo.
Choose drop shadow, inner shadow, Outer glow, inner glow, bevel and emboss.
For the inner glow :
Blend mode: Screen
Opacity: 75%

Step 5~> Put effect on the icon
Go to the layer style.
Choose the inner glow and outer glow.
Repeat this step to all icon.

Step 6~> MMU word
Using text tool to type MMU.
Then rasterize layer the layer.
Go to the layer style and choose outer glow, inner glow and colour overlap.
Do the same step for FACULTY OF MANAGEMENT.
The text are done~

Step 7~> white crumbled paper
Use the move tool and move the white crumpled paper to the wallpaper.

Then use Free Transform to transform the size the the way of putting it.
Use text tool to type OPEN DAY on the crumpled paper.
Then open a blue texture image and use move tool to move the image
to the OPEN DAY word.
Go to the layer and right click. Select create clipping mask.
Then you can see that open day is in blue texture.

Step 8~> effect on the text
Go to the layer style, and choose drop shadow.
Blend mode: Mutiply
Opacity : 75%
Angle: 120


TO BE CONTINUE ~~~

Thursday, July 14, 2011

Fourth Post-Tutorial 4 < Retouching & Enhancing >

Step 1--> Choose Auto Color
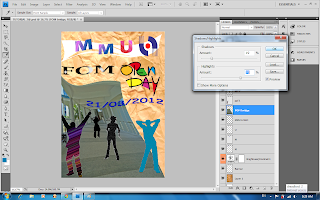
Step 2---> Shadow Higlights
Go to image there and select Shadow highlight.
For shadow amount choose 19% and for highlight amount choose 70%.

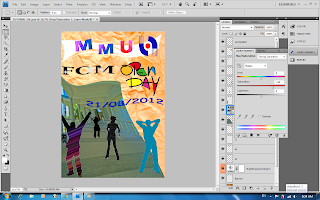
Step 3--> Hue/ Saturation
Go to adjustment double click and choose hue/ saturation.
For the saturation choose+50

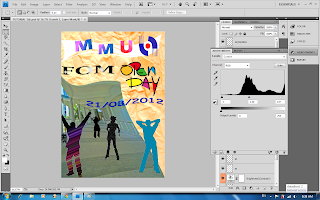
Step 4--> Level
Go to adjustment and choose level.

Step 5--> Clone stamp
Use clone stamp to make more effect on it

Step 6--> Color balance
Go to adjustment and choose color balance. Choose the color balance
until you satisfied.

Step 7--> Clone stamp
Use clone stamp to repair the shortcoming of the bridge.

Step 8--> Clone stamp
Choose the maple size to do the effect.

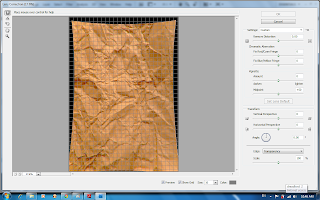
Step 9--> Lens Correction
Choose Filter >Distort > Lens Correction. Adjust the lens until
you satisfied.

Final result~~~
I'm not satisfied with it, I think i will redo it~
Sunday, July 3, 2011

Third Post-Tutorial 3< Layer Basics>

Doing the improvement with using layer basic from the second post of Selection tools~

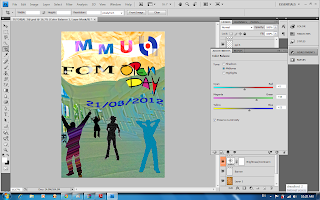
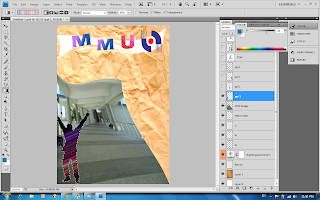
Step 1 --> Change the background slightly bright
Go to Layer then click adjustment. Choose Brightness and
adjust to the level of the brightness that you want.

Step 2--> Decorate the title
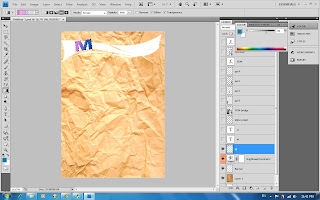
Go to Layer then click Rasterize. After that press layer
then use selection tool to select the word of "M".
Use Gradient tool to decorate the word of "M".

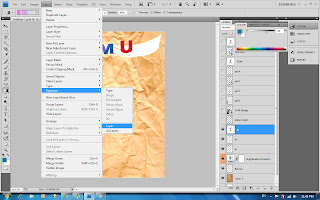
Step 3--> Rasterize
This is to show the step of Rasterize the layer.
Then repeat step 2 again.

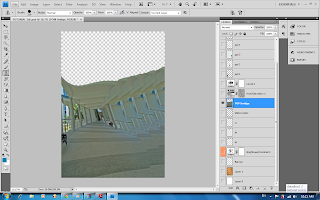
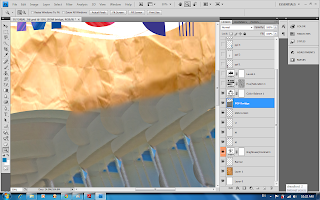
Step 4--> FOM bridge
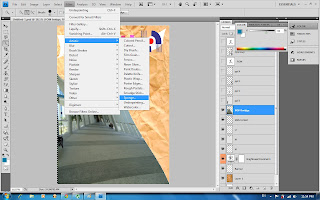
As usual rasterize the layer then use selection tool to select the picture.
Then go to Filter choose Artistic. After that, click the sponge to get the effect.

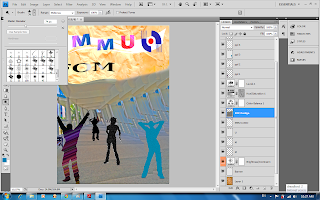
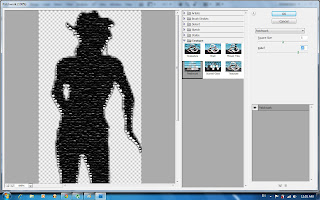
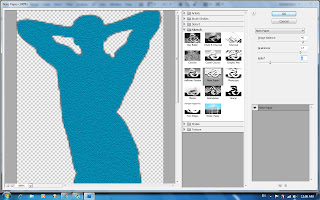
Step 5--> Effect on Black people 1
Repeat step 2 and use the gradient tool to get the effect.

Go to Filter and choose texture.
Then adjust the level of patchwork to get the satisfy effect.
Go to Filter then choose sketch. Then use notepad
and adjust the level of notepad to get the effect.

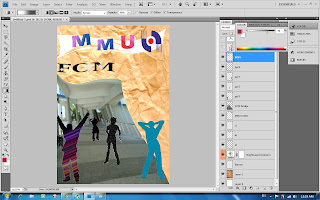
Step 6--> Decorate FOM word
Repeat the step 2 then use gradient tool to decorate.
Adjust the level of colour and the pattern of gradient to get the effect.

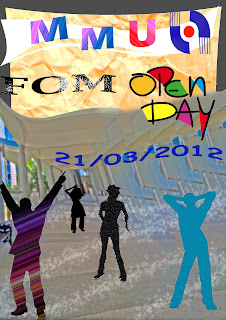
Step 7--> Final Result ^^
Put on the image of open day and the date. Then the image is done~ ^^

Hope u all enjoy and love my work ^^
Finally done~