Step 1--> Choose Auto Color
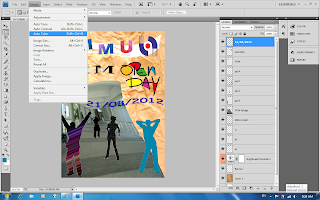
Step 2---> Shadow Higlights
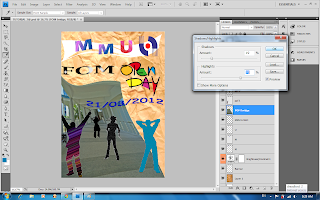
Go to image there and select Shadow highlight.
For shadow amount choose 19% and for highlight amount choose 70%.
Step 3--> Hue/ Saturation
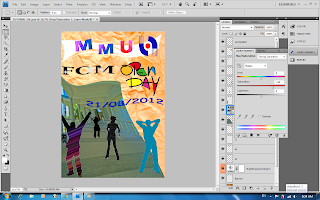
Go to adjustment double click and choose hue/ saturation.
For the saturation choose+50
Step 4--> Level
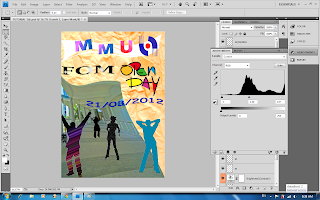
Go to adjustment and choose level.
Step 5--> Clone stamp
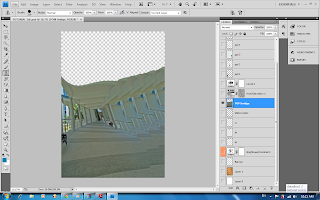
Use clone stamp to make more effect on it
Step 6--> Color balance
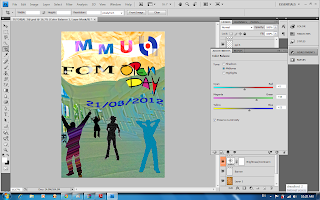
Go to adjustment and choose color balance. Choose the color balance
until you satisfied.
Step 7--> Clone stamp
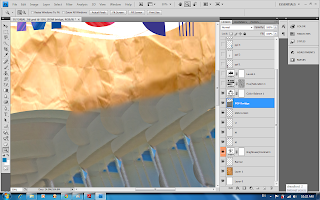
Use clone stamp to repair the shortcoming of the bridge.
Step 8--> Clone stamp
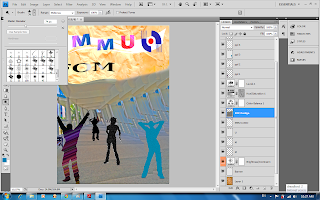
Choose the maple size to do the effect.
Step 9--> Lens Correction
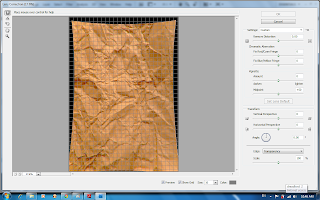
Choose Filter >Distort > Lens Correction. Adjust the lens until
you satisfied.
Final result~~~

I'm not satisfied with it, I think i will redo it~
No comments:
Post a Comment